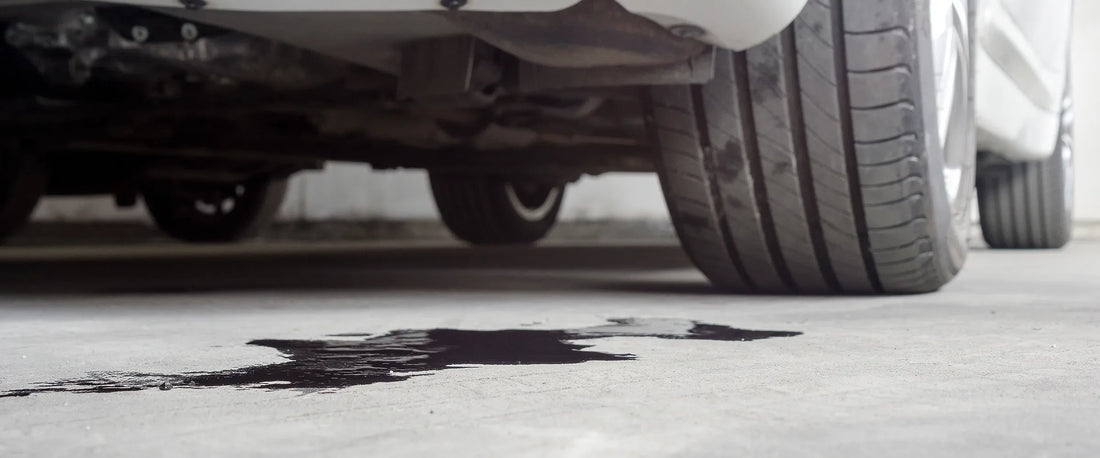
From oil changes to brake jobs, DIY garage work often involves fluids—and spills are bound to happen. Whether it’s a tipped container or a slow leak, being prepared with the right materials can prevent slips, protect your floor, and make cleanup faster and safer.
A spill response kit is an easy way to stay ready. In this guide, we’ll show you how to build your own kit using affordable and effective items available from OneSource Supply Co.
1. Absorbent Pads or Mats
These heavy-duty pads quickly soak up oil, coolant, brake fluid, and fuel. Use them under your workspace or directly on the spill to contain liquids fast.
2. Granular Absorbent or Spill Socks
Granular absorbents are ideal for larger spills or for spreading under vehicles. Spill socks are flexible tubes that surround and contain spreading liquids—perfect for stopping fluid from reaching walls or drains.
3. Nitrile or Chemical-Resistant Gloves
Always protect your hands before touching chemicals or contaminated materials. Nitrile gloves are resistant to oil and fuel, and they provide better grip during cleanup.
Shop Nitrile Gloves: https://onesourcesupplyco.com/products/clearance-6-mil-nitrile-medium-orange-glove-100-ct-bulk-discount
4. Disposal Bags and Labels
Once the spill is absorbed, dispose of materials in heavy-duty plastic bags. Label the bag for proper handling, especially if the fluid is hazardous or flammable. Store bags away from ignition sources until disposal.
5. Eye Protection and a Face Mask
Some chemical vapors or splashes can irritate your eyes or lungs. Keep a pair of safety goggles and a disposable mask in your kit to use when cleaning up strong-smelling or hazardous fluids.
6. Small Dustpan and Broom or Scraper
If using granular absorbent, you’ll need a way to scoop up the used material. A dedicated broom or dustpan helps collect waste efficiently without contaminating your general tools.
7. Wall-Mounted Storage or Bucket
Store your kit in a labeled bucket or wall-mounted container near your workbench or oil drain pan. The goal is to grab it quickly when a spill occurs—don’t bury it in a drawer.
8. Bonus Tip: Include a Spill Response Checklist
- Stop the source of the leak
- Ventilate the area
- Put on PPE before cleanup
- Contain, absorb, and dispose properly
Having a list reduces stress and ensures you don’t forget a step in the moment.
Bonus Tip: Mount It Where It's Easy to Reach
Mount your first aid kit on a wall near the main entry point or workbench. Clearly label the box and keep it unlocked so it’s accessible in a hurry. You can even add a small flashlight or headlamp nearby in case of a power outage during an emergency.
Conclusion
A well-stocked spill response kit helps you act fast, clean safely, and protect your garage from stains and damage. Keep your kit accessible, and restock items after each use.
Build your own spill kit today with absorbents, gloves, and PPE from OneSource Supply Co.: https://onesourcesupplyco.com
